
 Photo: Necroform Art / Pexels
How to Build a Gaming PC: Your Ultimate DIY Guide
Unlock superior performance and customization by building your own gaming PC with our expert-led, step-by-step instructions.
Start Building Your Dream PCKey Takeaways
- ✓ Building a gaming PC can save you money compared to pre-built systems.
- ✓ You gain full control over component selection for optimal performance and aesthetics.
- ✓ The process is more straightforward than many assume, even for beginners.
- ✓ A custom-built PC offers easier upgrades and better long-term value.
How It Works
Determine your budget and performance goals, then meticulously select compatible CPU, GPU, motherboard, RAM, storage, PSU, and case. Compatibility is key for a smooth build.
Carefully install each component into the PC case, connecting all necessary cables according to your motherboard manual. This stage requires patience and attention to detail.
Once hardware is assembled, install your operating system, typically Windows, from a USB drive. Follow up by installing all necessary drivers for your motherboard, GPU, and other peripherals to ensure optimal performance.
Run benchmark tests to confirm stability and performance, then tweak settings and consider overclocking (if comfortable) for maximum gaming potential. Monitor temperatures to ensure everything runs cool.
Understanding Core Gaming PC Components
 Photo: Andrey Matveev / Pexels
Step-by-Step Assembly: Bringing Your Rig to Life
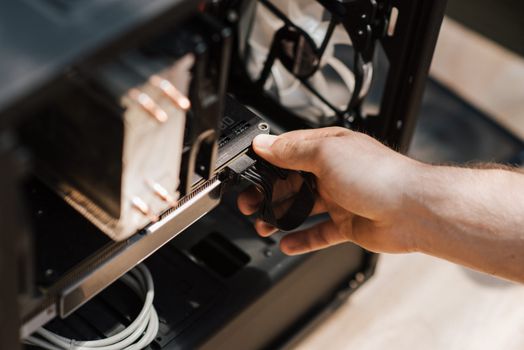 Photo: Anete Lusina / Pexels
First Boot, Software, and Optimizing Your Gaming Experience
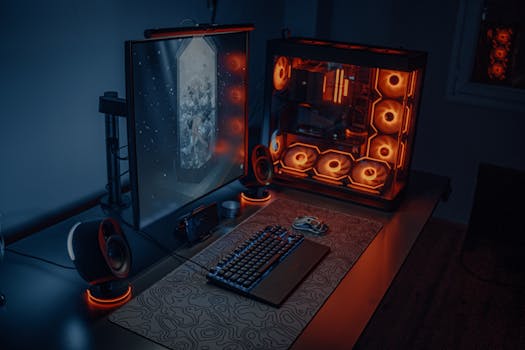 Photo: Atahan Demir / Pexels
Common Pitfalls and Pro Tips for a Smooth Build
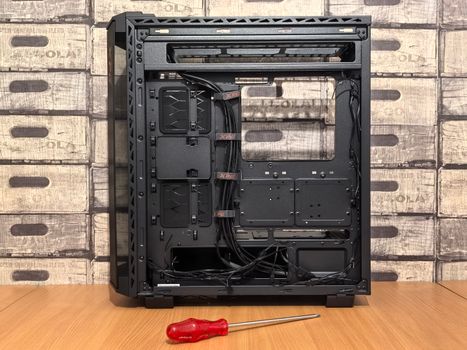 Photo: Andrey Matveev / Pexels
Comparison
| Feature | DIY Gaming PC | Pre-built Gaming PC | Gaming Laptop |
|---|---|---|---|
| Cost | Potentially lower | Higher initial cost | Highest initial cost |
| Customization | ✓ (Full control) | ✗ (Limited options) | ✗ (Very limited) |
| Upgradeability | ✓ (Excellent) | ✓ (Limited CPU/GPU) | ✗ (RAM/Storage only) |
| Performance/Price | Best value | Good, but less flexible | Compromised for portability |
| Troubleshooting | Requires user knowledge | Manufacturer support | Manufacturer support |
| Portability | ✗ (Desktop) | ✗ (Desktop) | ✓ (Excellent) |
What Our Readers Say
"Following this guide, I finally built my first gaming PC. The detailed steps and component explanations made the process so much less intimidating. It booted up on the first try!"
Alex R. Austin, TX"I used to think building a PC was only for experts, but this article broke it down perfectly. My new rig runs Cyberpunk 2077 flawlessly, and I saved hundreds compared to a pre-built."
Sarah J. Orlando, FL"The troubleshooting tips in this guide were a lifesaver. I had a minor issue with my RAM, but the advice here helped me fix it quickly. Now I have a custom gaming PC that performs exactly how I wanted."
Mark D. Seattle, WA"While the guide was incredibly helpful, I wish there was a bit more emphasis on budget component choices for beginners. Still, I managed to build a great PC, and I'm very happy with the result."
Jessica L. Denver, CO"As someone who streams and plays competitive games, building my own PC allowed me to choose specific parts for both. The performance is leagues beyond my old machine, and it feels great to have built it myself."
Kevin P. Chicago, ILFrequently Asked Questions
Is building a gaming PC hard for beginners?
What's the biggest risk when building a PC?
How do I know if my components are compatible?
Is it cheaper to build a gaming PC or buy a pre-built one?
How does a custom-built PC compare to a gaming laptop?
Who should consider building their own gaming PC?
Are there any safety concerns when building a PC?
What are the future trends in PC building?
Building your own gaming PC is an empowering and cost-effective way to achieve the ultimate gaming experience. With this comprehensive guide, you have all the knowledge needed to confidently embark on your DIY journey. Start planning your build today and unlock unparalleled performance and customization.