How to Build a Gaming PC: Your Ultimate DIY Guide
Unlock unparalleled performance and personalize your gaming experience by building your own powerful PC today.
Start Building Your PC!Key Takeaways
- ✓ Building a gaming PC can be more cost-effective than buying a pre-built system.
- ✓ You gain full control over component selection, optimizing for performance and budget.
- ✓ The process is empowering and provides valuable tech knowledge.
- ✓ Modern PC components are designed for easier assembly than ever before.
How It Works
Research and select compatible parts based on your budget and performance goals. This foundational step ensures a smooth assembly and optimal gaming experience.
Install the CPU, cooler, RAM, and M.2 SSD onto the motherboard before placing it into the case. This pre-assembly simplifies the process significantly.
Secure the motherboard, graphics card, power supply, and other storage drives inside the PC case. Carefully connect all necessary power and data cables.
Once hardware is assembled, install your operating system (Windows is common) and all necessary drivers for your components. This brings your PC to life and optimizes performance.
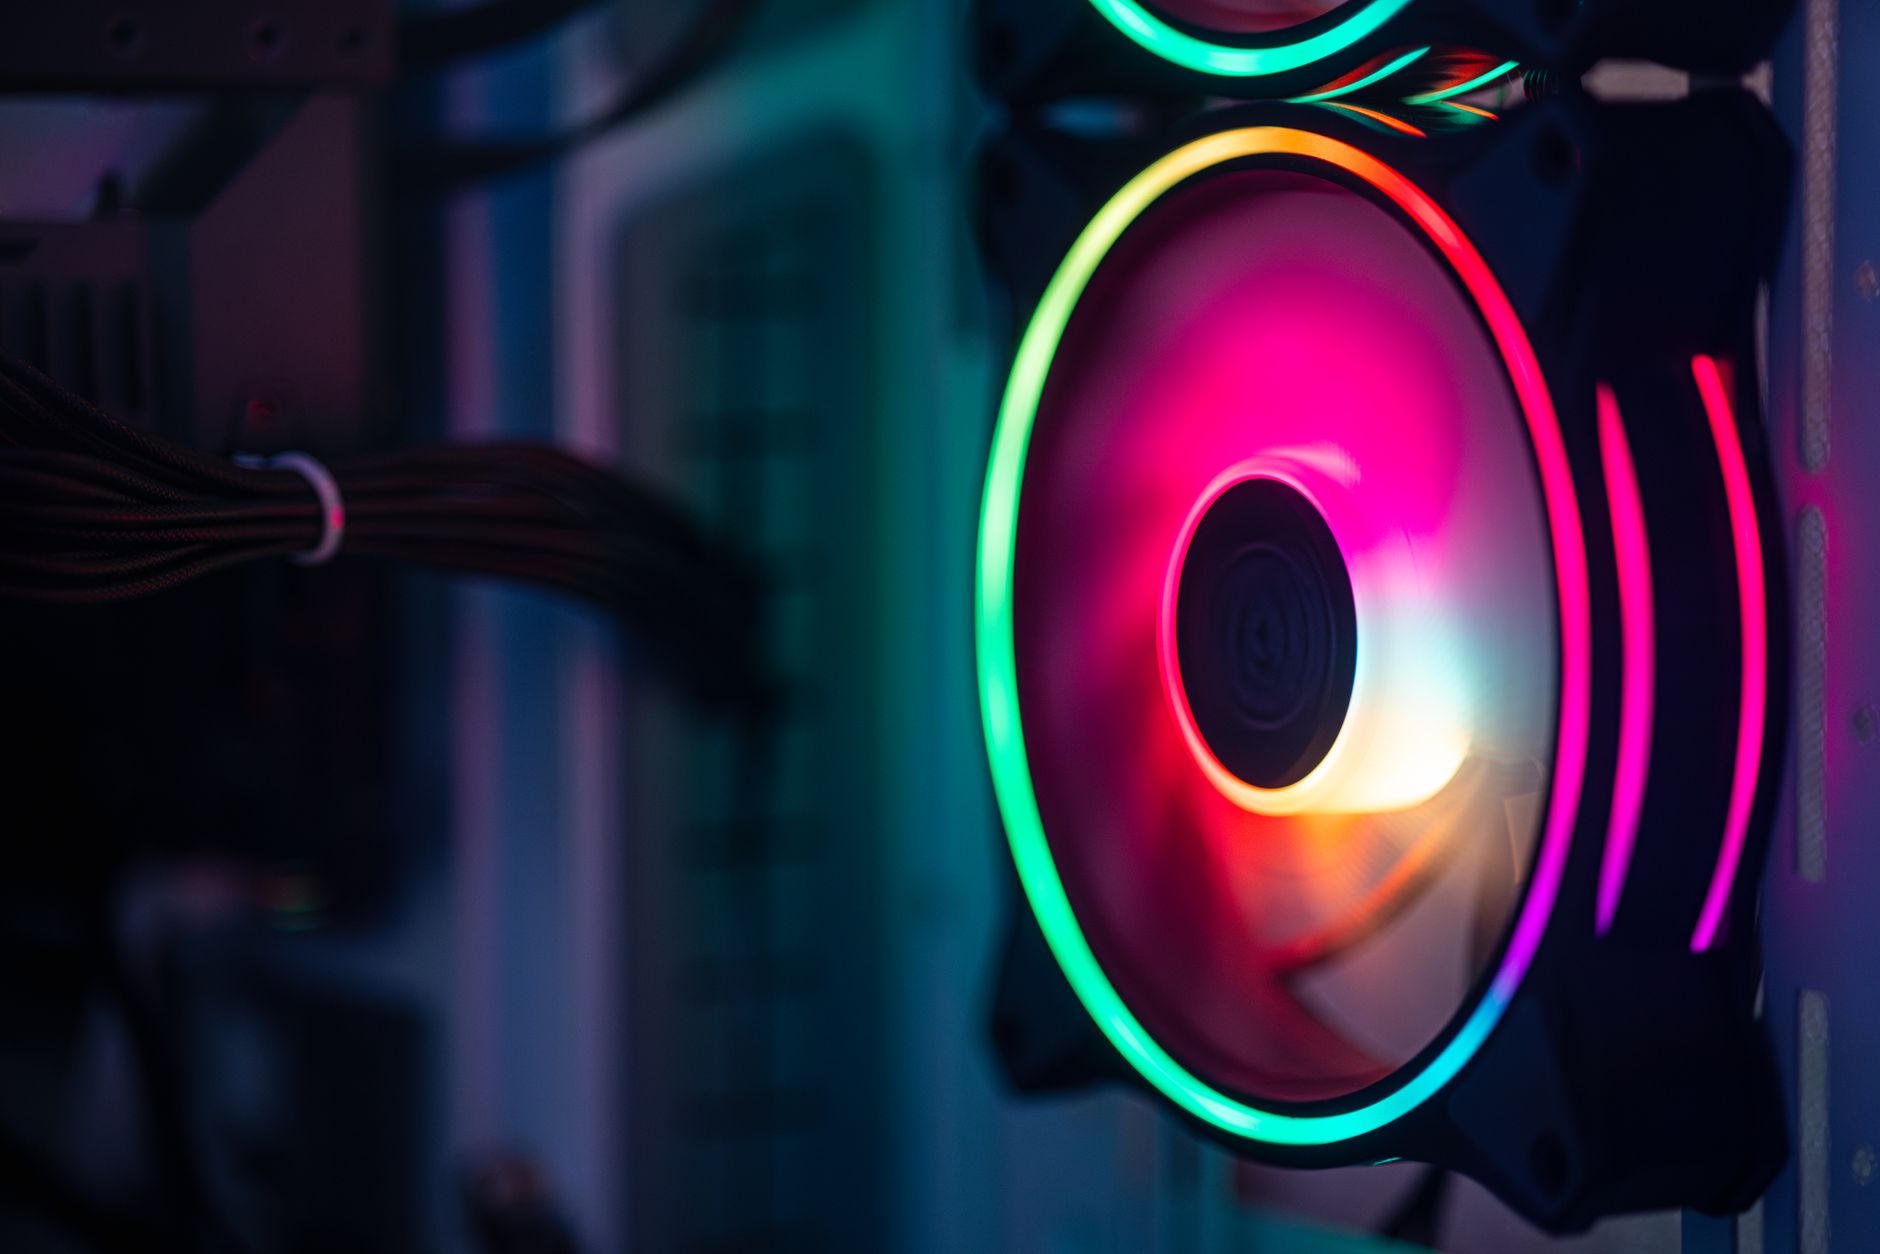
Why Build Your Own Gaming PC? The Custom Advantage
 Photo: Ron Lach / Pexels
Essential Components: What You Need to Get Started
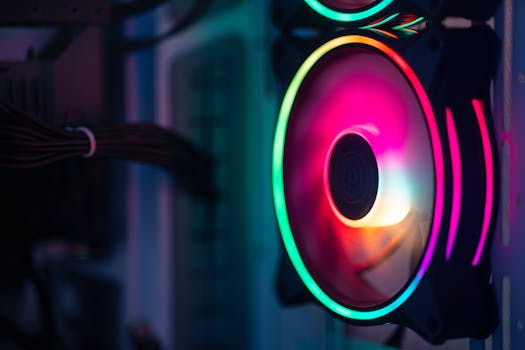 Photo: Necroform Art / Pexels
For more options, check out rental car.
Step-by-Step Assembly: Your First Gaming Rig
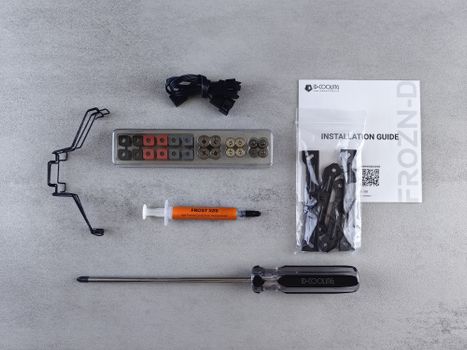 Photo: Andrey Matveev / Pexels
Software Setup & Optimization: Unleashing Your PC's Potential
 Photo: Suliman Sallehi / Pexels
Comparison
| Feature | DIY Gaming PC | Pre-built Gaming PC | Gaming Laptop |
|---|---|---|---|
| Cost-Effectiveness | High (better components for price) | Medium (markup for assembly) | Low (premium for portability) |
| Customization | Excellent (full choice of parts) | Limited (pre-selected configurations) | Very Limited (fixed components) |
| Upgradeability | High (modular components) | Medium (some parts upgradable) | Low (CPU/GPU often soldered) |
| Performance/Price | Best (optimized for your needs) | Good (convenient but less value) | Varies (compromises for form factor) |
| Assembly Required | ✓ | ✗ | ✗ |
| Portability | ✗ | ✗ | ✓ |
What Readers Say
"This guide made me confident enough to finally build my first gaming PC. The step-by-step instructions were incredibly clear, and I now have a machine that outperforms anything I could have bought pre-built for the same money. Highly recommend!"
Alex P. · Austin, TX"I was intimidated by the idea of building a PC, but this article broke it down perfectly. I saved hundreds and learned so much in the process. My new rig runs all my games flawlessly."
Sarah J. · Seattle, WA"Following this guide, I built a beast of a machine that gets incredible frame rates in Cyberpunk 2077. The tips on component selection and driver installation were particularly helpful. My old PC can't compare."
Mark D. · Orlando, FL"The guide was very comprehensive, though I did need to watch a few YouTube videos for the fiddly front panel connectors. Overall, a fantastic resource that helped me achieve a high-performance custom build."
Chloe L. · Denver, CO"As someone who uses their PC for both gaming and video editing, the ability to custom-pick components for both needs was a game-changer. This guide empowered me to create the perfect workstation/gaming rig."
Ben S. · Chicago, ILFrequently Asked Questions
Is building a gaming PC difficult for beginners?
While it requires patience and attention to detail, building a gaming PC is very achievable for beginners with the right guidance. Modern components are designed to be user-friendly, and there are countless resources, like this guide, to walk you through each step. The satisfaction of building your own machine is immense.
Will I save money by building my own gaming PC?
Generally, yes. By building your own PC, you avoid the markup associated with pre-built systems, allowing you to get better components for your budget or achieve similar performance for less money. Component sales and careful shopping can further maximize your savings.
How do I choose compatible components for my gaming PC?
Component compatibility is crucial. Start by selecting your CPU and motherboard, ensuring the CPU socket type matches. Then, choose RAM compatible with your motherboard's DDR generation and speed. Your power supply must have enough wattage for all components, especially your graphics card. Online tools like PCPartPicker can help verify compatibility.
What is a reasonable budget for building a gaming PC?
A reasonable budget for a capable gaming PC can range from $800 to $1500 for a solid mid-range system, not including peripherals. High-end builds can easily exceed $2000. It's important to set a budget first and then allocate funds to components that offer the best performance for your specific gaming needs.
Is a pre-built gaming PC ever a better option?
Pre-built gaming PCs can be a better option if you prioritize convenience, immediate use, or a comprehensive warranty from a single manufacturer. They are also suitable for those who simply don't have the time or interest in the building process. However, you often pay a premium for these benefits.
Who should consider building their own gaming PC?
Anyone looking for maximum control over component selection, better value for money, the ability to easily upgrade in the future, or simply the rewarding experience of a DIY project should consider building their own gaming PC. It's a great path for enthusiasts and budget-conscious gamers alike.
Are there any risks involved in building a gaming PC?
The primary risks involve static electricity damaging components (easily mitigated with an anti-static wrist strap), incorrect component installation, or improper cable connections. However, by following instructions carefully and exercising patience, these risks are minimal. Most components have built-in safeguards.
What future trends should I consider when building a gaming PC?
Look for future-proofing elements like PCIe 5.0 compatibility on your motherboard for next-gen SSDs and GPUs, ample RAM (16GB minimum, 32GB for longevity), and a power supply with sufficient headroom for potential upgrades. Also, consider cases with good airflow to accommodate increasingly powerful and hotter components.
Ready to stop dreaming and start playing? This comprehensive guide has equipped you with the knowledge and confidence to build your very own gaming PC. Dive into the rewarding world of DIY computing and experience gaming like never before.